Have your own custom clipart for use by your customers? School Logos, Mascots, etc. that you want to have easily available for your customers to use to personalize your Products?
Good News! It is super easy to add your own custom clipart to your website product designer. Just follow these steps to add one or multiple clipart images to your site:
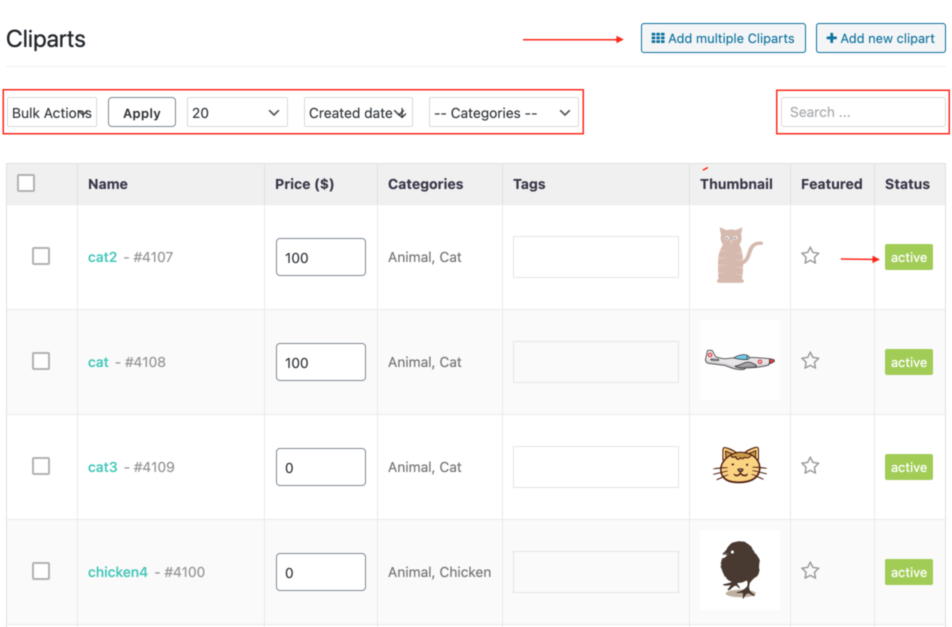
Step One is to navigate within your website to your ClipArt Dashboard, from your website Dashboard, select the Menu item PRODUCT DESIGNER and then select Cliparts Menu item and then ALL CLIPARTS.
You will now be looking at a screen that looks much like the one above. From here you can add/edit/delete clipart designs from your website. If adding a single clipart design, click the +Add new clipart button, enter the requested details and choose the clipart file to upload from your computer. Make sure to place the image into a category that makes sense for your customer to find (for example, if you do schools, I suggest creating a new category for each school and keeping all their designs under that category for easy finding). Be sure to SAVE your work once you are done!
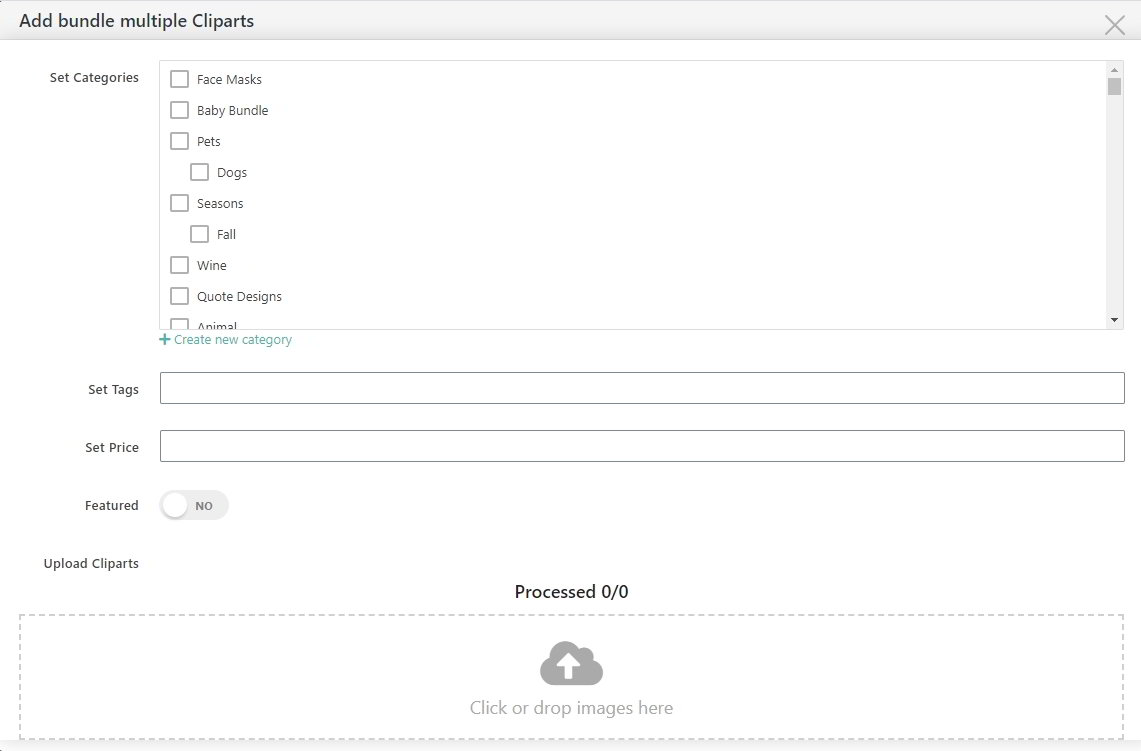
If however you intend to upload multiple clipart designs at a time, you will need to click the “Add multiple cliparts” button instead of the “Add new clipart” button. This powerful feature allows you to upload large numbers of clipart at a time. Keep in mind, you’ll need to upload your images one category at a time. For example, if you have images in 3 Categories (animals, homes, & people) be sure to upload each category by itself so you can place the uploaded images into the proper category.